Database Connection Wizard Setup |
  
|
Database Connection Wizard Setup |
|
Below are the steps in the wizard setup:
·Introduction

"Connection and Fields" option.

Database Connection Wizard button.

This is the first introduction page, information about list of activity.
·Connection type of database

Choose the appropriate connection type to your database.
·Database connection credential

Enter database connection parameters.
SQL Server Authentication
·Requires a username and password to be entered and stored explicitly.
·These credentials are managed by SQL Server, not Windows.
·The credentials are saved in the connection settings or connection string.
Windows Authentication
·Does not require entering a username and password manually.
·Uses the credentials of the currently logged-in Windows user.
·SQL Server trusts the Windows account through Active Directory (or local security).
·Choose the database

Choose an existing database or create a new one.
·Create Database Tables

If the tables do not exist in the database, you can create them.

A green check mark means the table exists.
·Fields

Select which fields in our data tables to use.
Default: When this option is selected, every field is enabled. This ensures that all information in the 276 and 277 EDI files are captured in the database.
Manual: After exiting the Wizard, youll return to the database connection screen. Here, you can manually deselect any fields you dont want included in your database tables. Once youve selected your fields, click the "Test Configuration" button to verify the connection. If successful, click "Save Configuration" to store your settings.
After selecting the desired fields, the wizard automatically tests the database connection and verifies that your configuration is valid.
·EDI Exchange
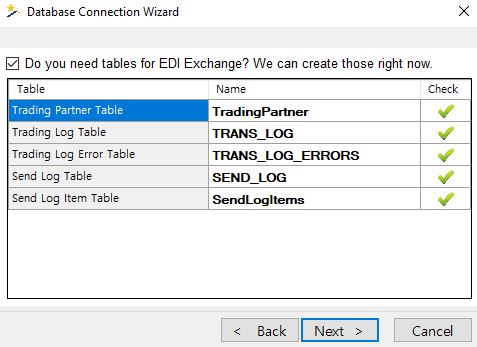
Check the box and wizard will create additional tables for EDI Exchange setup.
·999 Tables
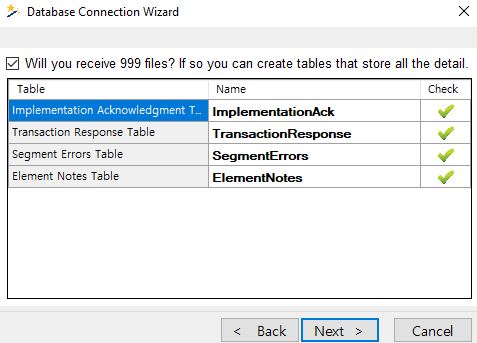
Check the box and wizard will create tables for storing 999 file information.
·Success
Last step of the wizard which will inform you that, setup done successfully and now ready to use database functionality.