Setting up Database Connection for Adjudication |
  
|
Setting up Database Connection for Adjudication |
|
The HIPAA Claim Payment master can adjudicate claims imported through the HIPAA Claim Master. This chapter assumes you have configured the database connection for HIPAA Claim Payment master, installed HIPAA Claim Master and configured Payment Master's database connection, tables and fields. To set up the Adjudication tables, first open the adjudication menu and select Adjudication Data Fields:

Adjudication Data Fields in the menu.
The resulting window is the Adjudication Field Setup screen.

The Claim Fields setup screen.
The database connection itself is taken from the Database connection setup screen that is explained in the previous chapter. Click the Test Connection button to test the database connection.
This will inform you if your database connection details are correct and whether a database connection could be made:

Message indicating a successful connections with no tables.
Though the database connection was successful, the tables that store the adjudication and payment information need to be created. Do do that click on the blue label that says "You can create the tables through a separate screen."

Adjudication Field Setup screen. Click the highlighted text to create the tables.
A new screen comes up that let's us create the tables.
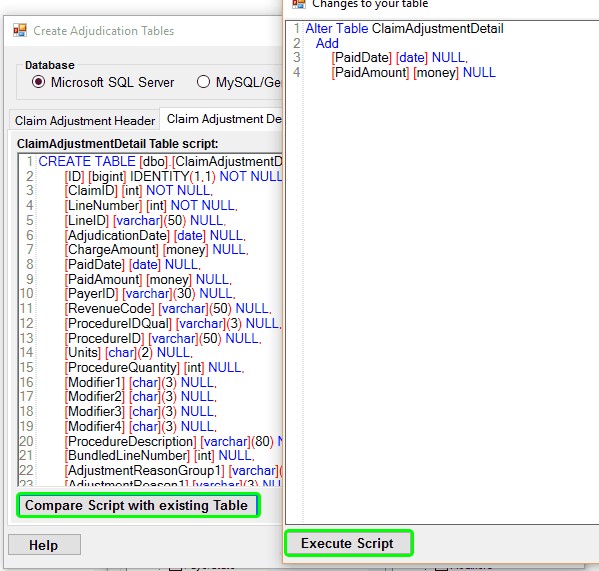
The scripts to create the adjudication tables are presented in the resulting screen. Select the appropriate database option and click Execute Script to create the table. Do this for all four tabs.

Table Creation screen.
You should receive a similar success message as is shown below for each of the tables created.

Table creation success message.
After the tables are created, we return to the Field Setup screen. Again we click on "Test Connection"

Adjudication Field Setup screen. Test connection button is highlighted.
The connection to the database and the adjustment tables will now be checked.
Successful database connectivity test.
Now we see a check mark next to the "Test Connection" button.
Now we need to test if the fields in the HIPAA Claim Master have been created that are mentioned in the previous article.

Testing the presence of feed back fields in the EDI Claim tables.
If you do not get a positive message in this test, click "Test."

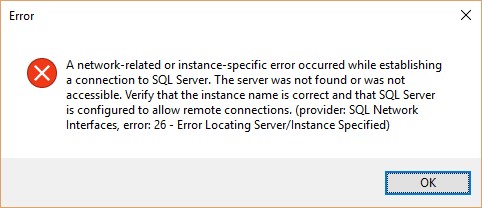
When you click "Test," you will be presented with this pop-up window.

Setting error pop-up when you click the "Test" button.
When you click "Yes," the newly created tables will be in a pop-up window. Click "Execute Script" to successfully alter the tables.

Changes to your table pop-up window.

"Table successfully altered" pop-up window.
Once this process is complete, go back and click the "Test" button again and you a "Success" pop-up window will display.

"Success" pop-up window.
Now comes the third and final part of the database setup. We need to select the fields that we want to use and check our selection. The easiest way is to click the Select All buttons beneath the fields lists in each of the six tabs.

Detail of Adjustment Field Setup screen. Select all fields buttons highlighted.
Click Test Configuration.

Detail of Adjustment Field Setup screen. Test configuration button is highlighted.
This will check for the existence of all selected fields in the adjustment tables.

Field setup success.
Finally, save the fields by clicking Save Field Configuration.

Detail of Adjustment Field Setup screen. Save field configuration button is highlighted.
The HIPAA Claim Payment Master now has a record of which fields are currently used in the database. This is especially helpful after an update that requires changes to the database.
Below are errors you might find while configuring your adjustment table fields.
While testing the connection to database, if a connection cannot be established, refer to the Setting up Database Connection section in the Using the Database chapter to check the database connection as these fields may be in error.

When testing the table fields configuration, if any fields are missing (or misnamed), the following error will be displayed.

Error during field configuration test. Two fields are missing from the claim adjustment detail table.
This might happen after an update. The table creation screen can add the missing fields. Click the Compare Script[...] button, check the resulting table adjustment script, then click the Execute Script button.