Displaying Claim Attachments |
  
|
Displaying Claim Attachments |
|
The HIPAA Claim Attachment Master application can display Claim Attachments as an image file on screen through a new window.
Though there are multiple types of Claim Attachments, HIPAA Claim Attachment Master is designed to display each Claim Attachment in a way that makes it simpler to navigate. Follow the steps below to display a Claim Attachment:
1.Go to File > Open in the main menu window. Browse for the file you want to view, then click "Open."

Click the "Open" option to search for an EDI file.
2.After opening the file, check that the output mode is on "Screen," then click the "Run" button.
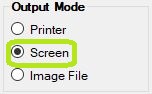
The "Output Mode" box is in the Info Bar.
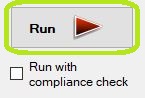
Click the "Run" button to begin processing.
3.Claim Attachment example below:

275 EDI file example.
See the details of each navigation tool below:

The "Navigation Header Bar" has options for viewing multi-paged files.
In the header bar of each multi-page form, you will find navigation buttons, each described below:
oPrint This option sends the individual Claim Attachment to the printer.
oClose If you click "Close," you will be prompted to continue to the next Claim Attachment or finish processing the current Claim Attachment.
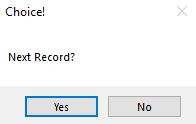
The choice between going to the next Claim Attachment stopping processing.
Choosing "Yes" will bring the next Claim Attachment in line, if any, before clicking "Run"; selecting "No" will close the current Claim Attachment, stop the parsing, and return to the main window.
oNext This option will move on to the next record; you must click "Run" to view it.
oPages This shows the number of pages and which is currently in view; if there are multiple pages, the arrows allow you to navigate them.
When you click "Cancel," the parsing engine will continue processing the EDI file until it finishes. The processing time will depend on the size of the file.