|
<< Click to Display Table of Contents >> Sending Authorization Authorization Requests |
  
|
|
<< Click to Display Table of Contents >> Sending Authorization Authorization Requests |
|
1.As covered in Creating 278 Files, clicking "Send To Trading Partner" will initiate the process of sending a Claim Status Authorization Request.
The workplace grid with a record highlighted, emphasis is placed on the "Send to Trading Partner" button.
2.Clicking "Send To Trading Partner" will prompt you to select a saved Trading Partner who will receive the EDI request. Double click the desired Trading Partner to select it.

The screen to select the trading partner.
3.We double click and thereby select the trading partner you will be prompted to look at the created EDI file. It is not required to click the "Yes" option.

Confirming the creation of the file.
4.Next we see the completed and process results windows detailing the query used to build the record from the database and the processing status.
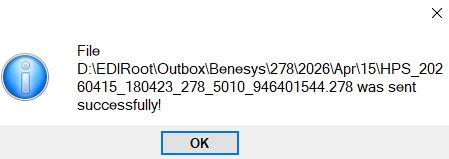

Process results of the file creation and sending to trading partner.
5.Upon receiving a response from the trading partner, the status icon is updated. In RealTime mode, which is used when sending single requests, the statuses after sending a request are:
•send failed ![]()
•999 received ![]()
•response received ![]()